A year without a toilet
Yet another blog post which was long due. It was written during the trip (but never published), so expect some funny idealistic views inside.
It has been a while since me and Laura gave up cosy life and moved to a campervan. This blog post gives an overview of our setup.
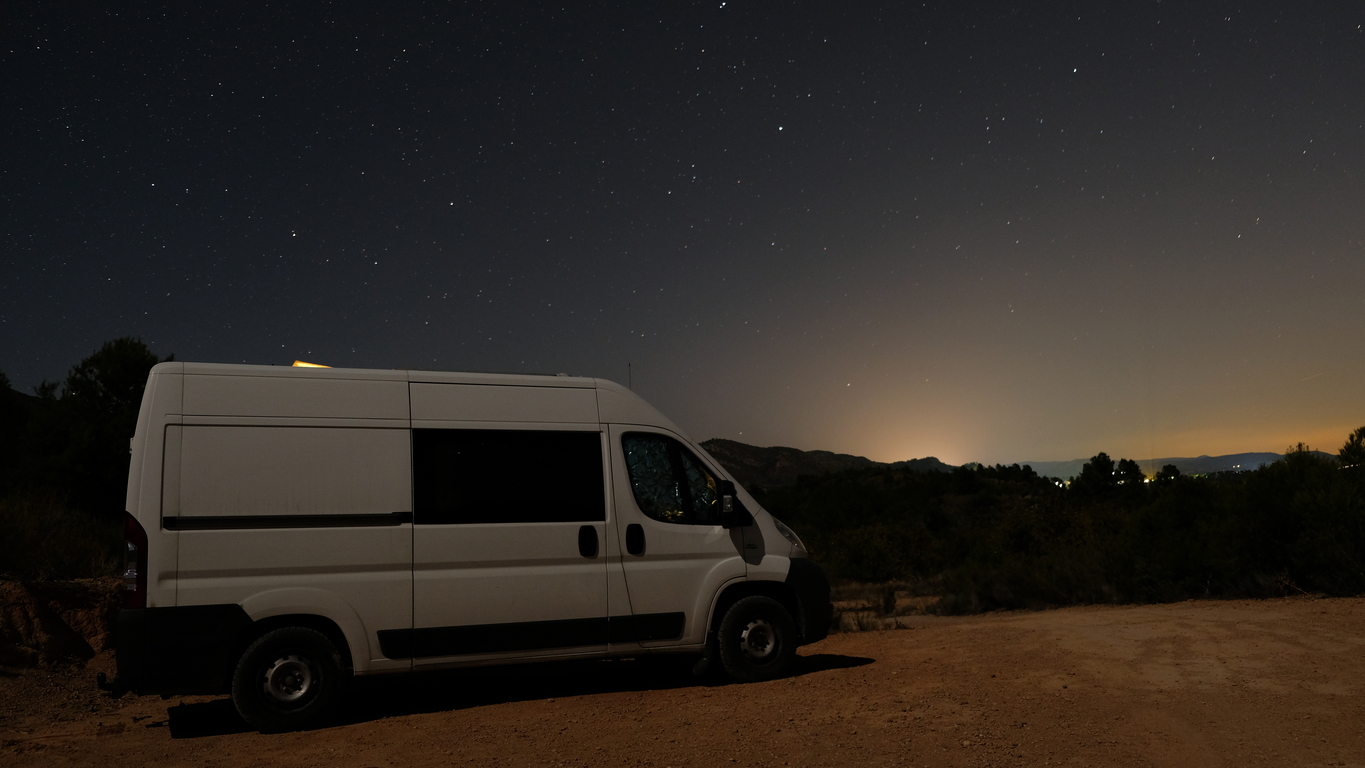
Our beloved ex-van
Before getting into details, it’s worth mentioning that our motivation for the metamorphosis was to rehab from the city life by climbing rocks during a day and poking keyboards offline at night.
Anyway, to make it happen we thought about settling into a van which has:
- A bed for two
- Insulation and ventilation
- Electricity from green sources
- Cooking facilities
- Stealthy look
These would enable us to simply and comfortably live in nature near rocks and mountains.
Choosing a Van
Obviously, the first thing was to decide what kind of a van we would like to get. We had the following options in mind:
- Buy a cargo van and convert it ourselves (requires time and some skills)
- Buy a camper van ($)
- Buy VW California ($$$)
Due to time constraints we opted for the second option. We were lucky and found a third generation Fiat Ducato X250 from 2008 with a relatively low mileage, some DIY conversions and a high top so that I can almost stand up.
After buying the van we had only one month to do any modifications, as we did not want to skip summer climbing. We decided to skip any major changes to the existing layout, insulation or furniture, and just do minor adjustments and some installations.
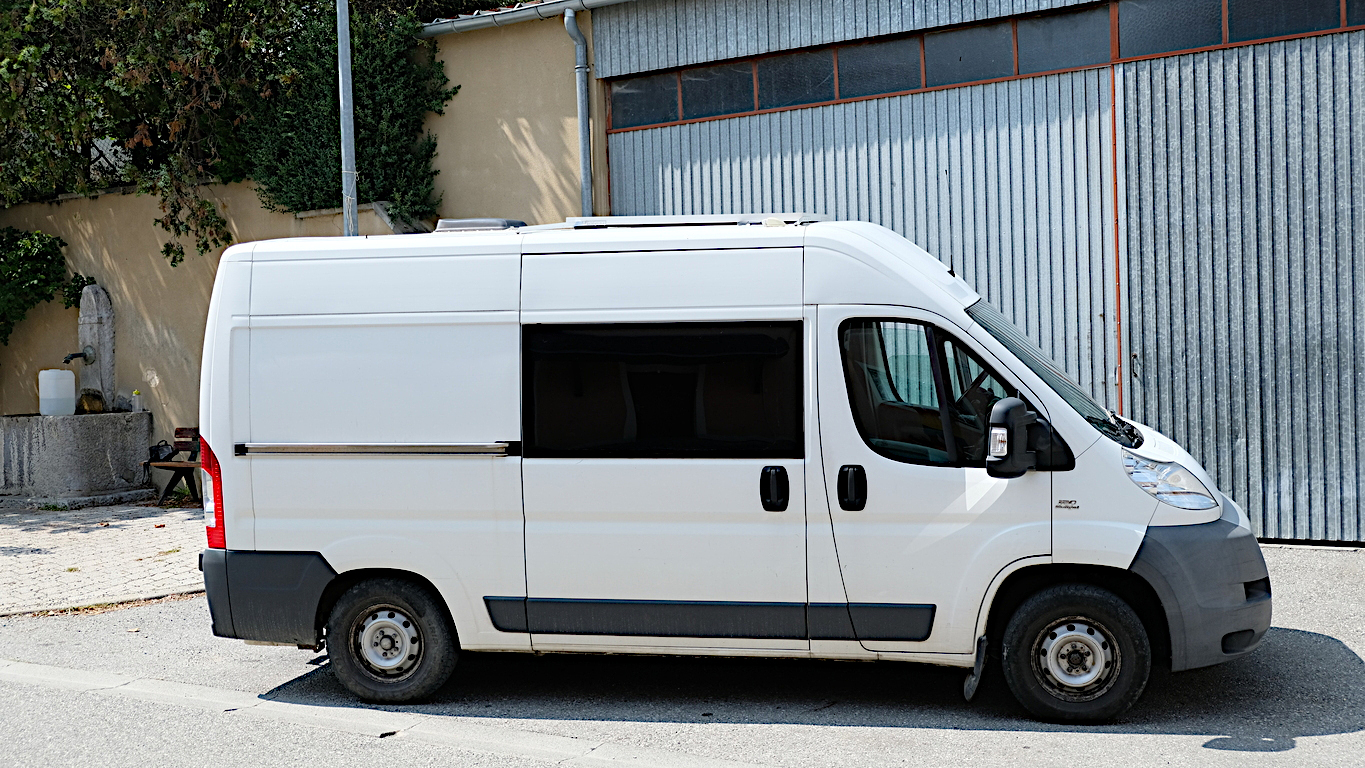
Stealth look
Layout and Furniture
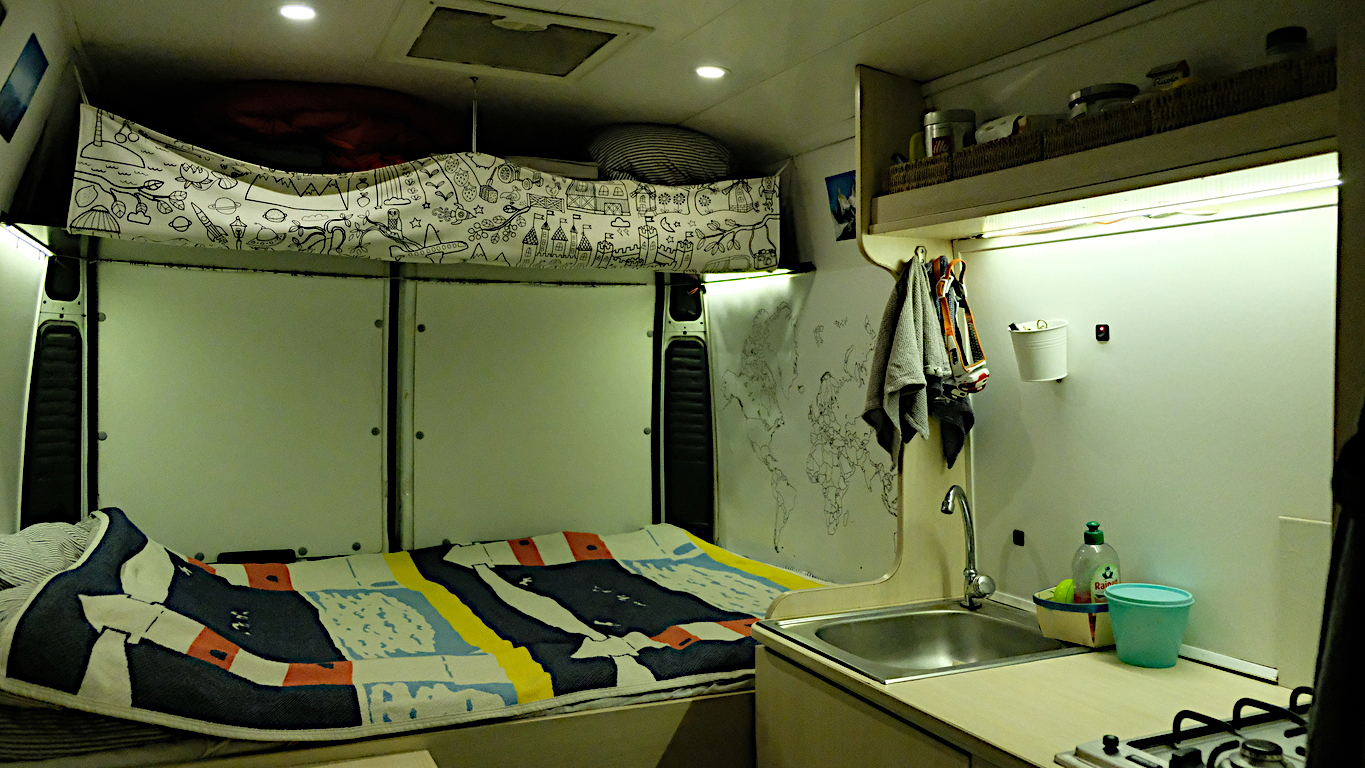
The existing layout gives enough space to function for two. In the single space we have a bedroom, a kitchen, a dinning room, a storage room and even an office space.
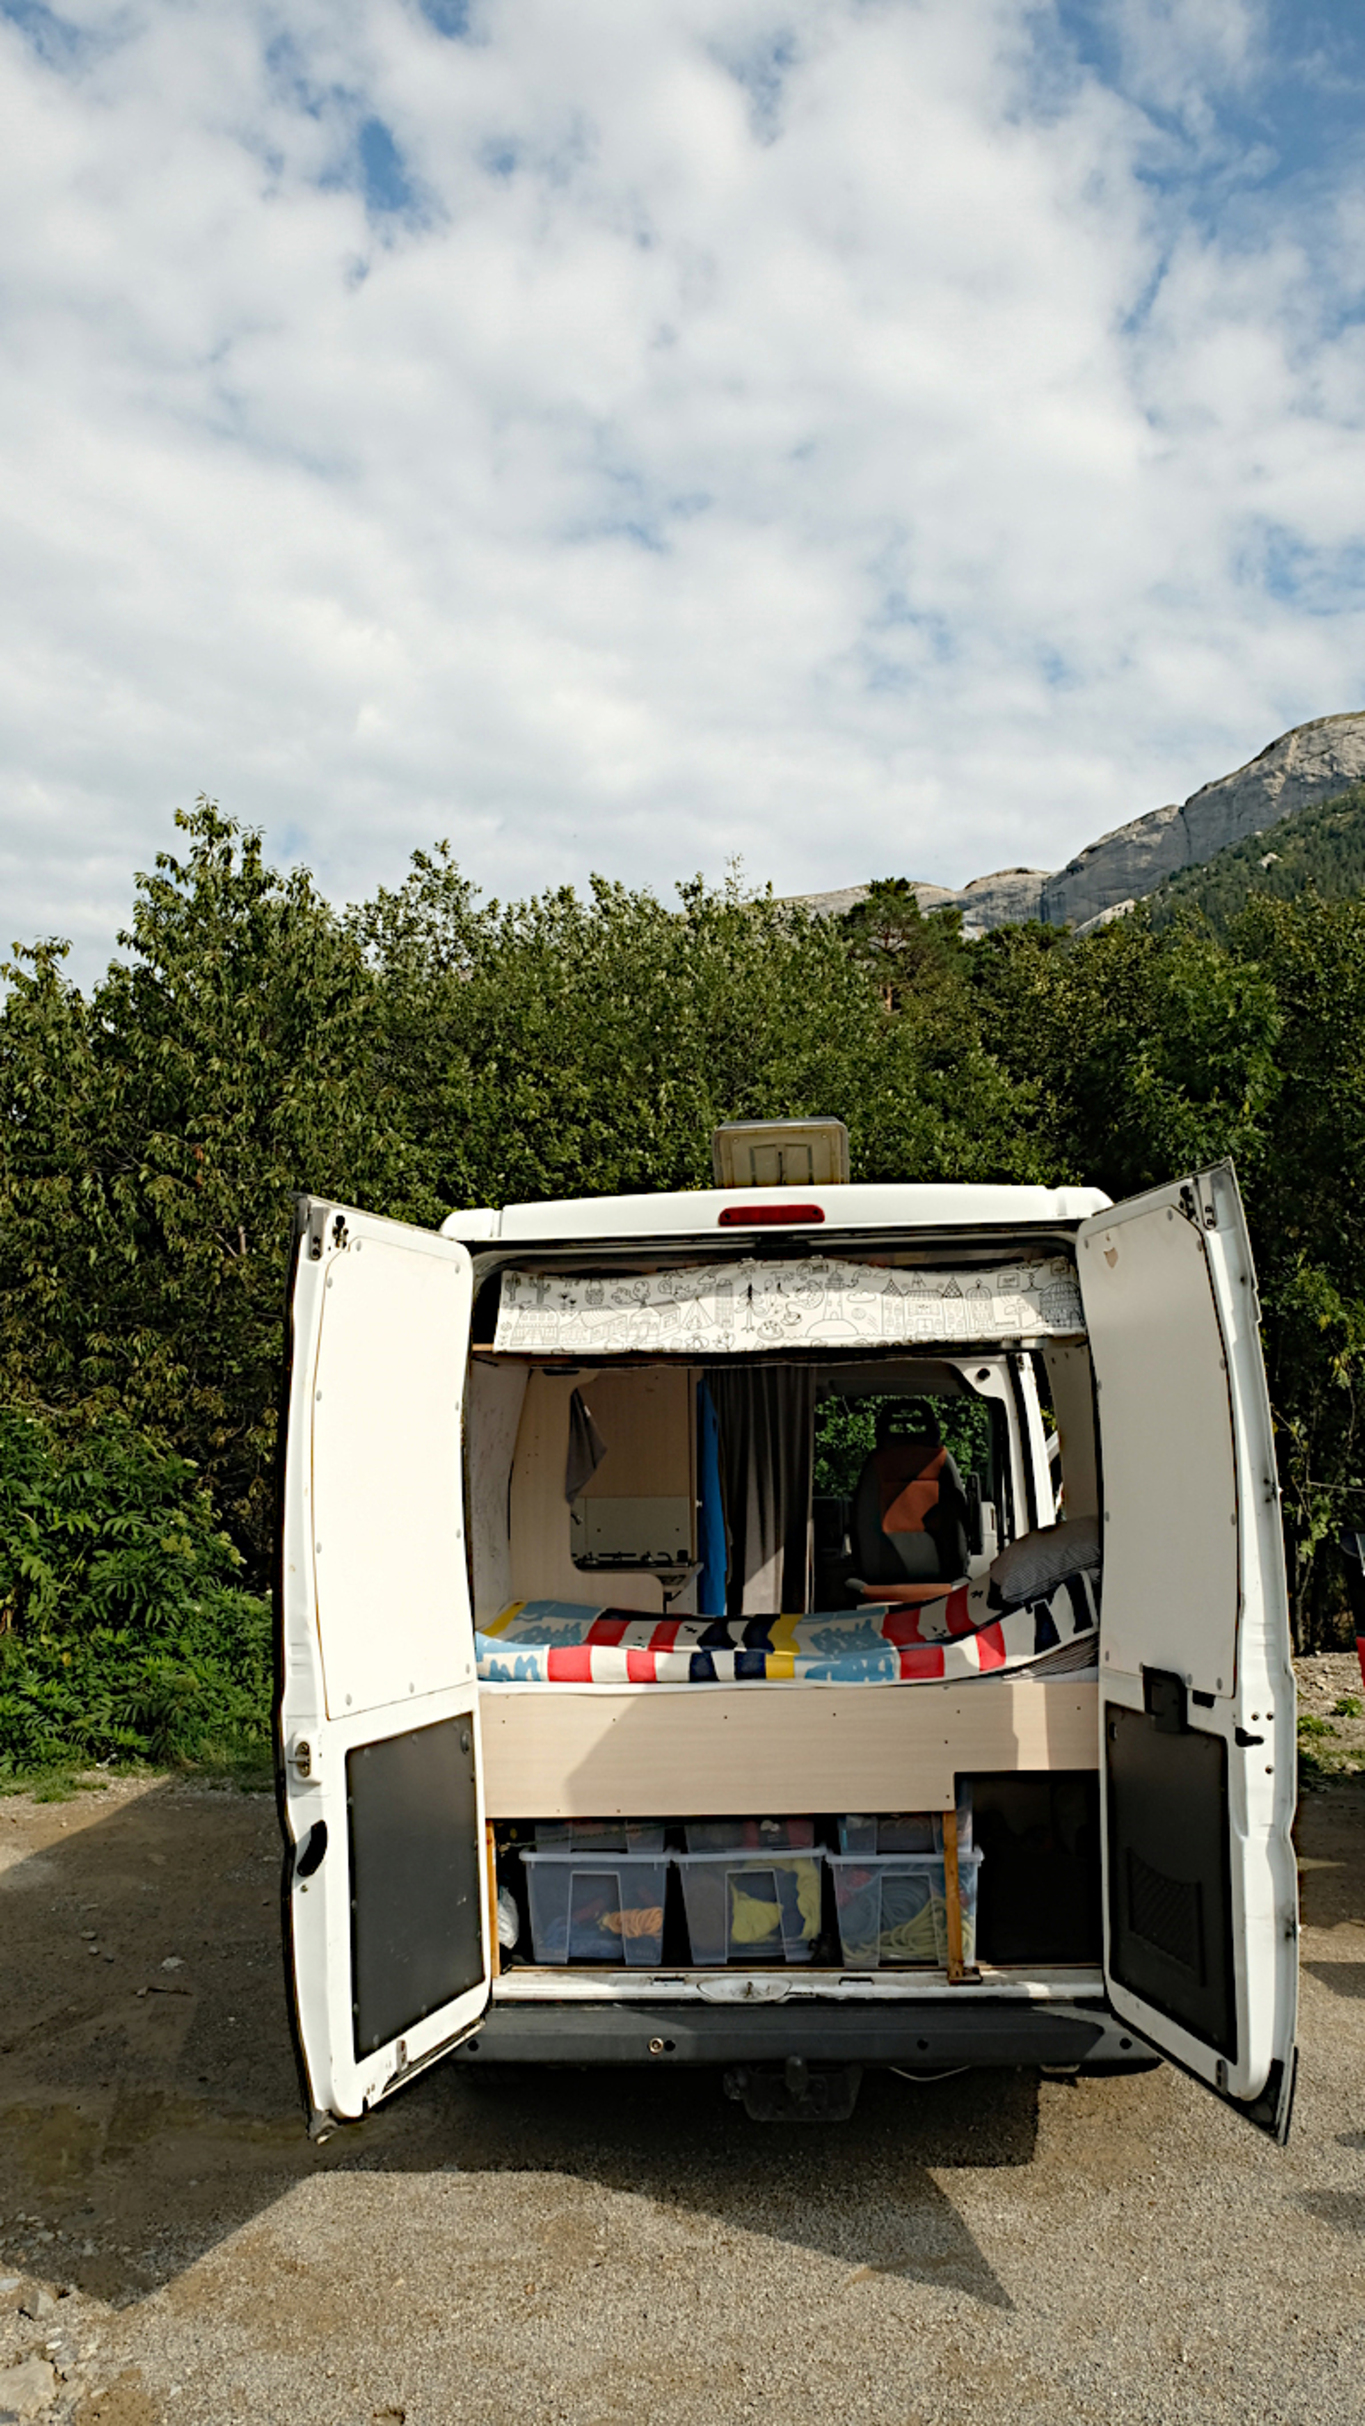
As we spend at least ~1/3rd of total trip time sleeping, a proper bed is super important to us. At the back of the van we have a king size bed. Unfortunately, it is a bit too short for me, so I have to sleep diagonally.
Under the bed we have a storage space for our climbing gear, skateboard, books and other things. As we overestimated how much stuff we will bring with us (in the end it was a surprisingly small amount), we decided to build a shelf above the bed which now accommodates our socks (thanks to our parents for accommodating the rest of our stuff).
There are more shelves for storing food, dishes, clothes and shoes. See the picture below. Each door of the shelf has neat clips which prevent the doors from opening when driving on shaky roads.
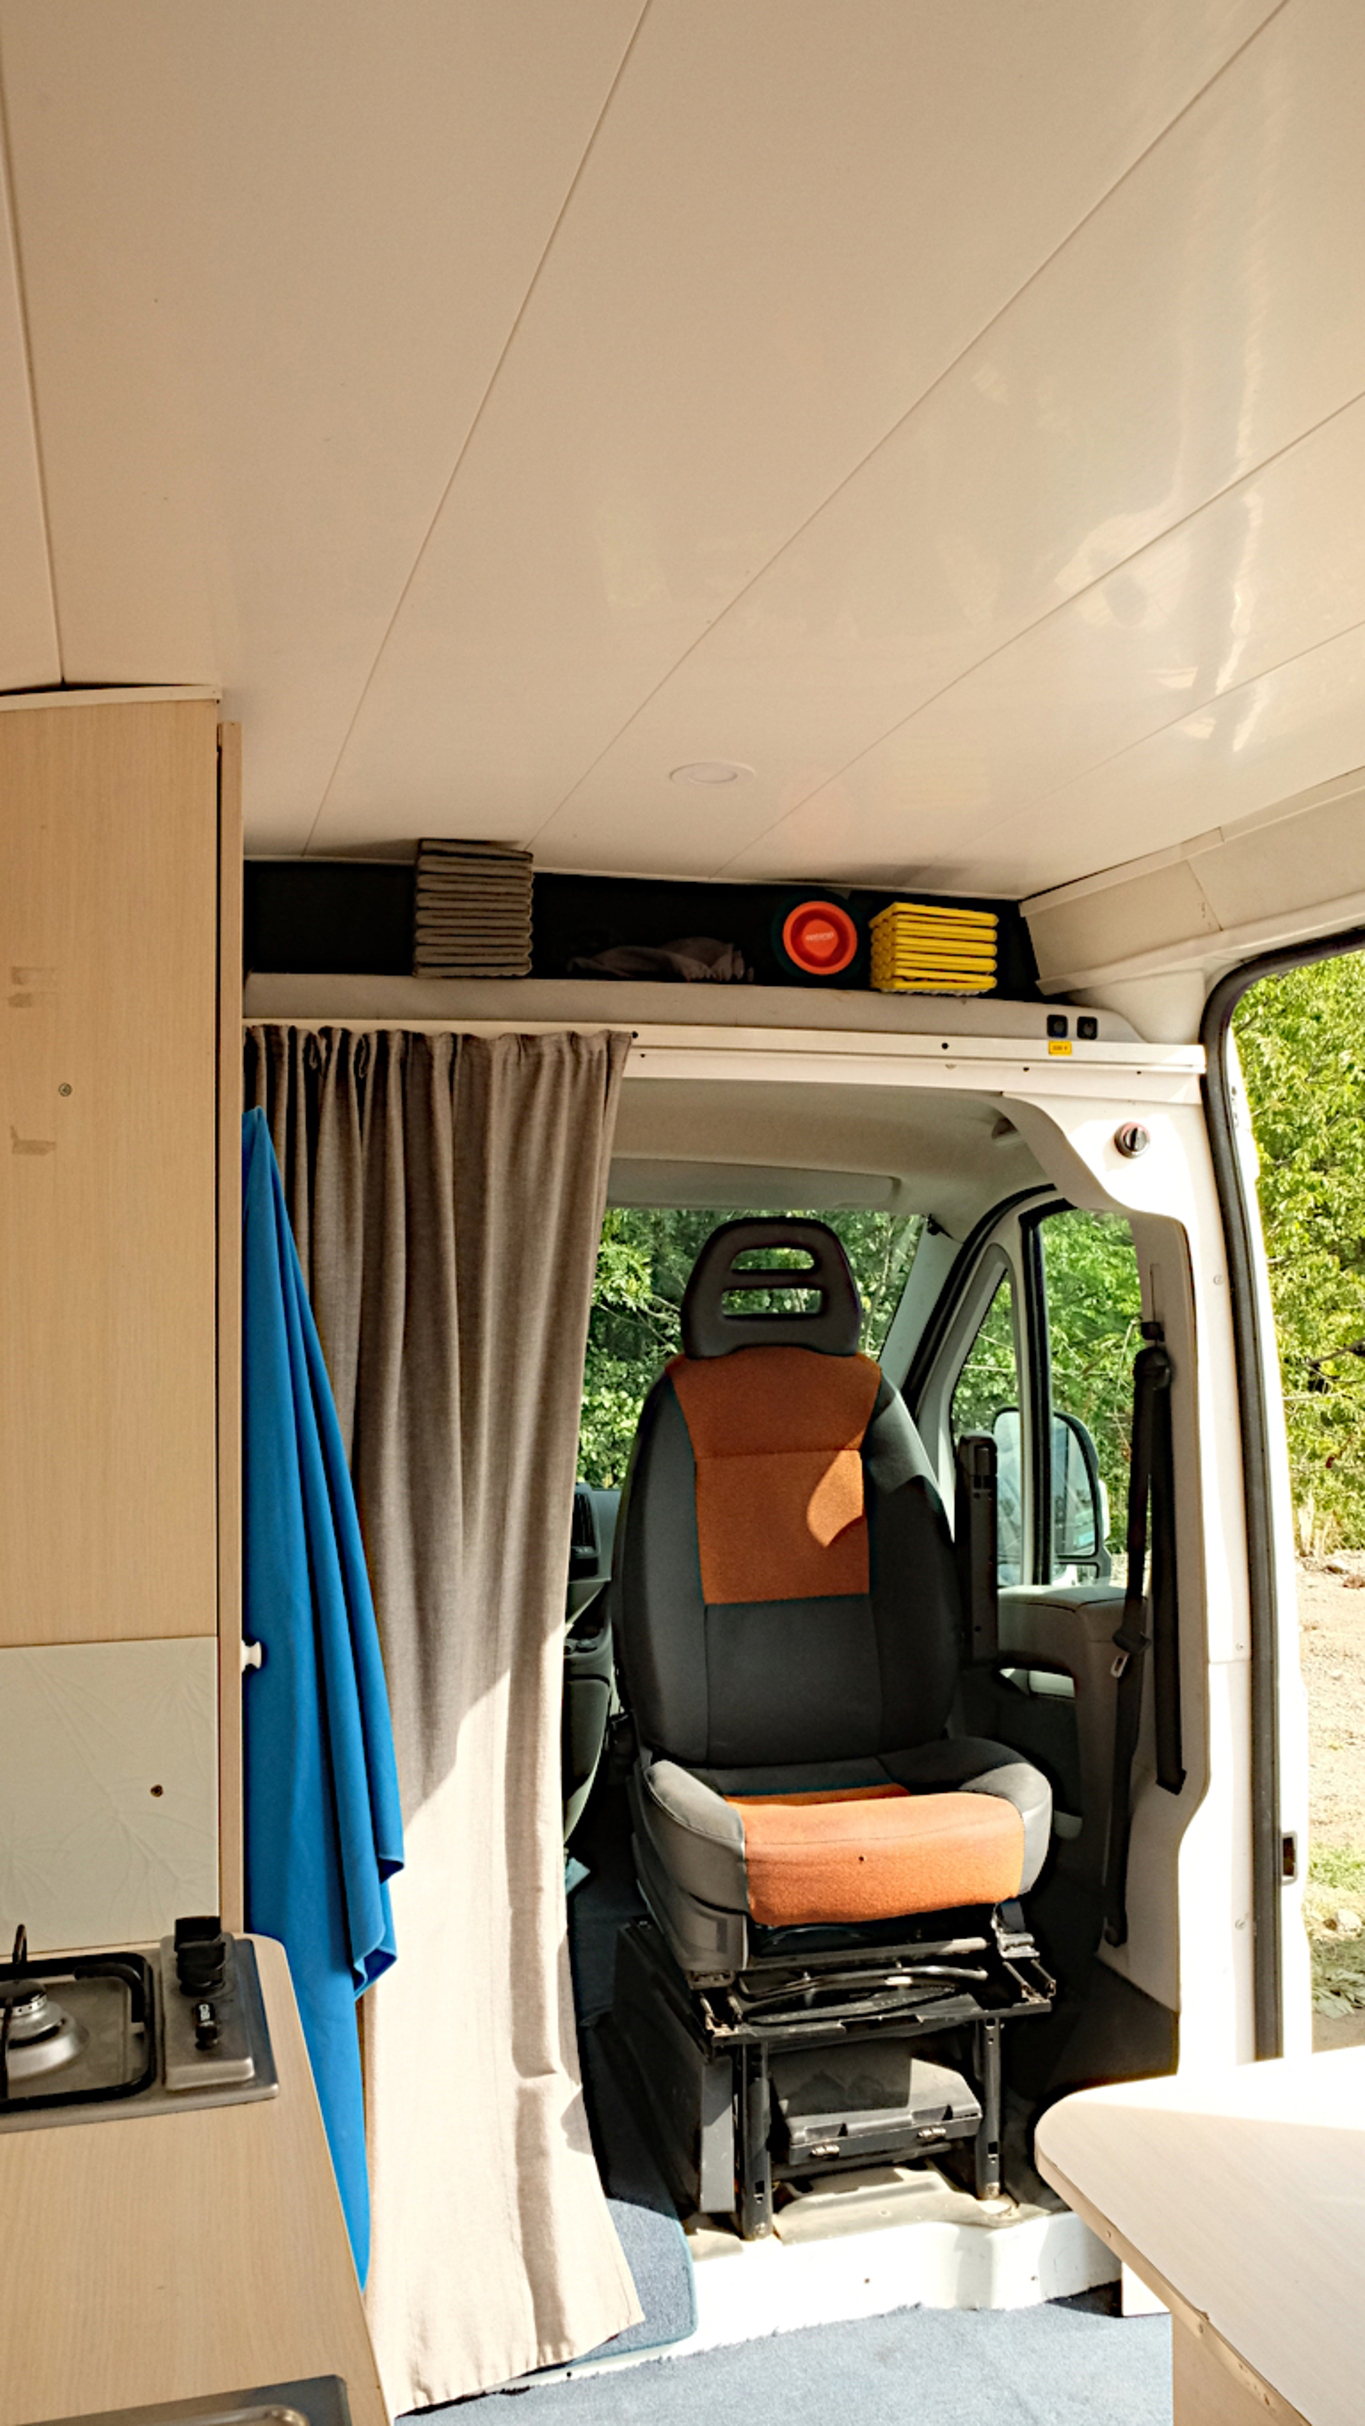
To make the van even more spacious we installed a swivel chair mechanism on the passenger seat. This addition is worth all the money (~€100 on Ebay) as it creates a comfy place for computer activities.
For the sake of privacy and stealthy look, we separated the front cabin of the van from the living part with dark curtains attached to the very silent drape runners.
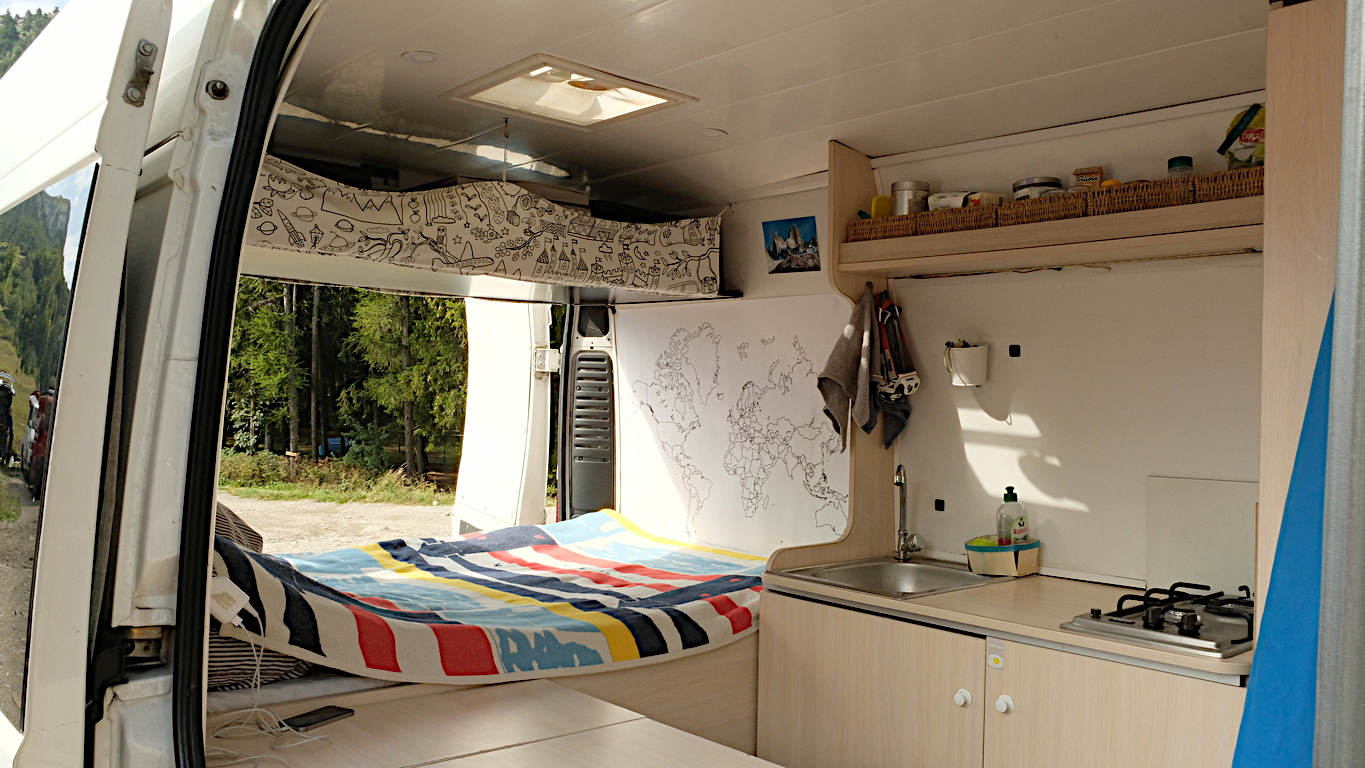
Living room
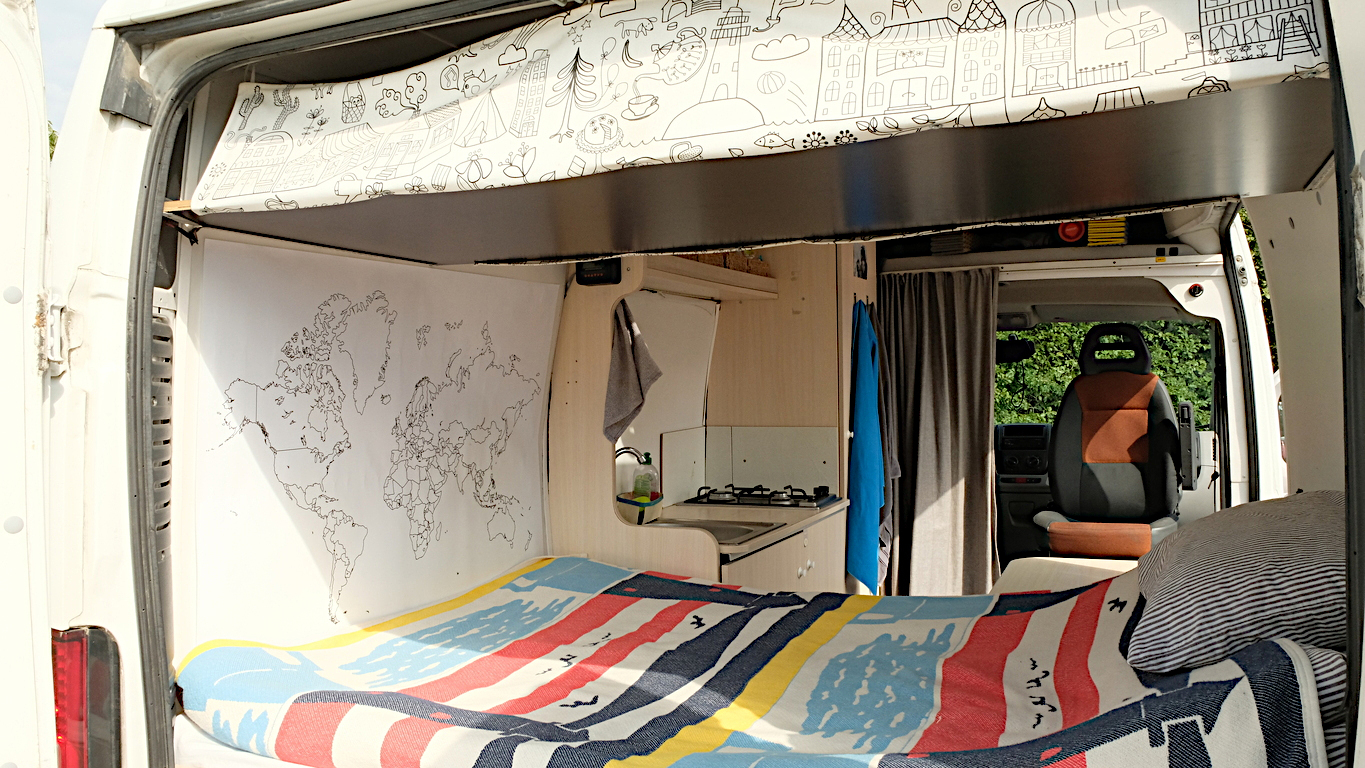
King size bed
Climbing gear
Office space
Insulation and Ventilation
The van came insulated by the previous owner. Unfortunately, the insulation is just OK as it does not cover all surface and the used materials are not well suited for the task. So, due to the lack of better thermo resistance it becomes hot when it is hot outside, and it gets quite cold when outside it’s subzero. If we have had more time, we would have remade it.
Fortunately, the van has a heater inside (Webasto AirTop 2000) running on diesel. A very small amount of fuel heats up the whole living space pretty quickly.
For air circulation we have a roof vent. It prevents condensation, supplies some fresh air, and allows us to cook inside without opening the side door. Nice thing about the vent is that when it rains you can leave it open, as it does not let the water pour in.
Kitchen
No more eating out!
The van comes with a 2-burner gas stove which enables us to cook inside. The gas is stored in 12.5l gas bottle containing 5kg of propane butane mix which is enough for ~2.5 months.
Once in France we ran out of gas, and it was difficult to find a bottle which would fit our gas regulator. So, we had to buy an overpriced Campergaz setup. Half of the cost would have been saved if we had bought Gaslow Camping Gas adaptor before which allows you to connect a Campergaz 907 bottle to common gas regulators. However, a good thing about this setup is that in most European countries you can easily refill the Campergaz bottle.
Next to the stove we have a water sink with a tap. Water comes from 25l water tank and waste goes to another water container. Water is supplied by a very common Reich EASY 14 water pump (14l/min) placed in the water tank.
Fun fact: 25l of water is enough for roughly two days.
A modern kitchen has to have a fridge, but we decided not to have one due to high power requirements. We are not heavy meat eaters, so most of our food can stay on the shelves. Also, we are doing grocery shopping every third day.
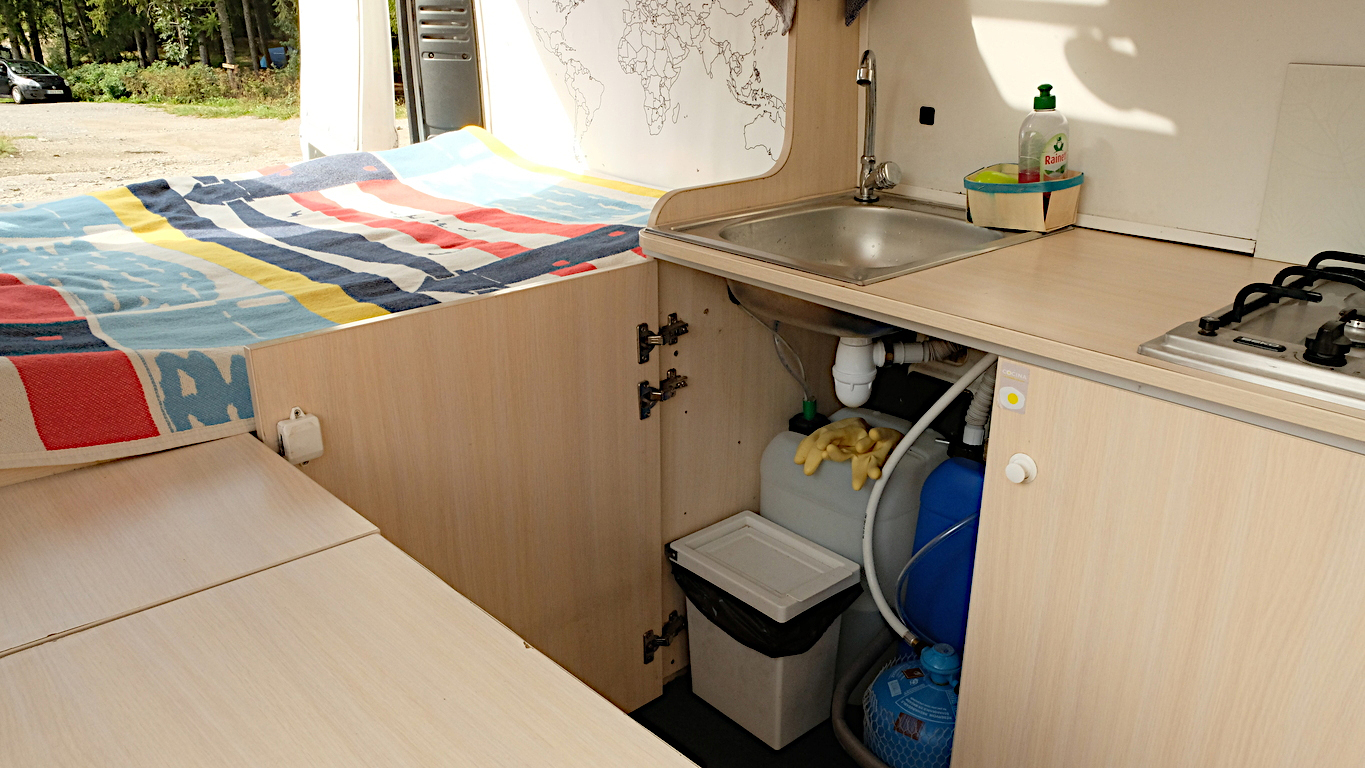
Water system
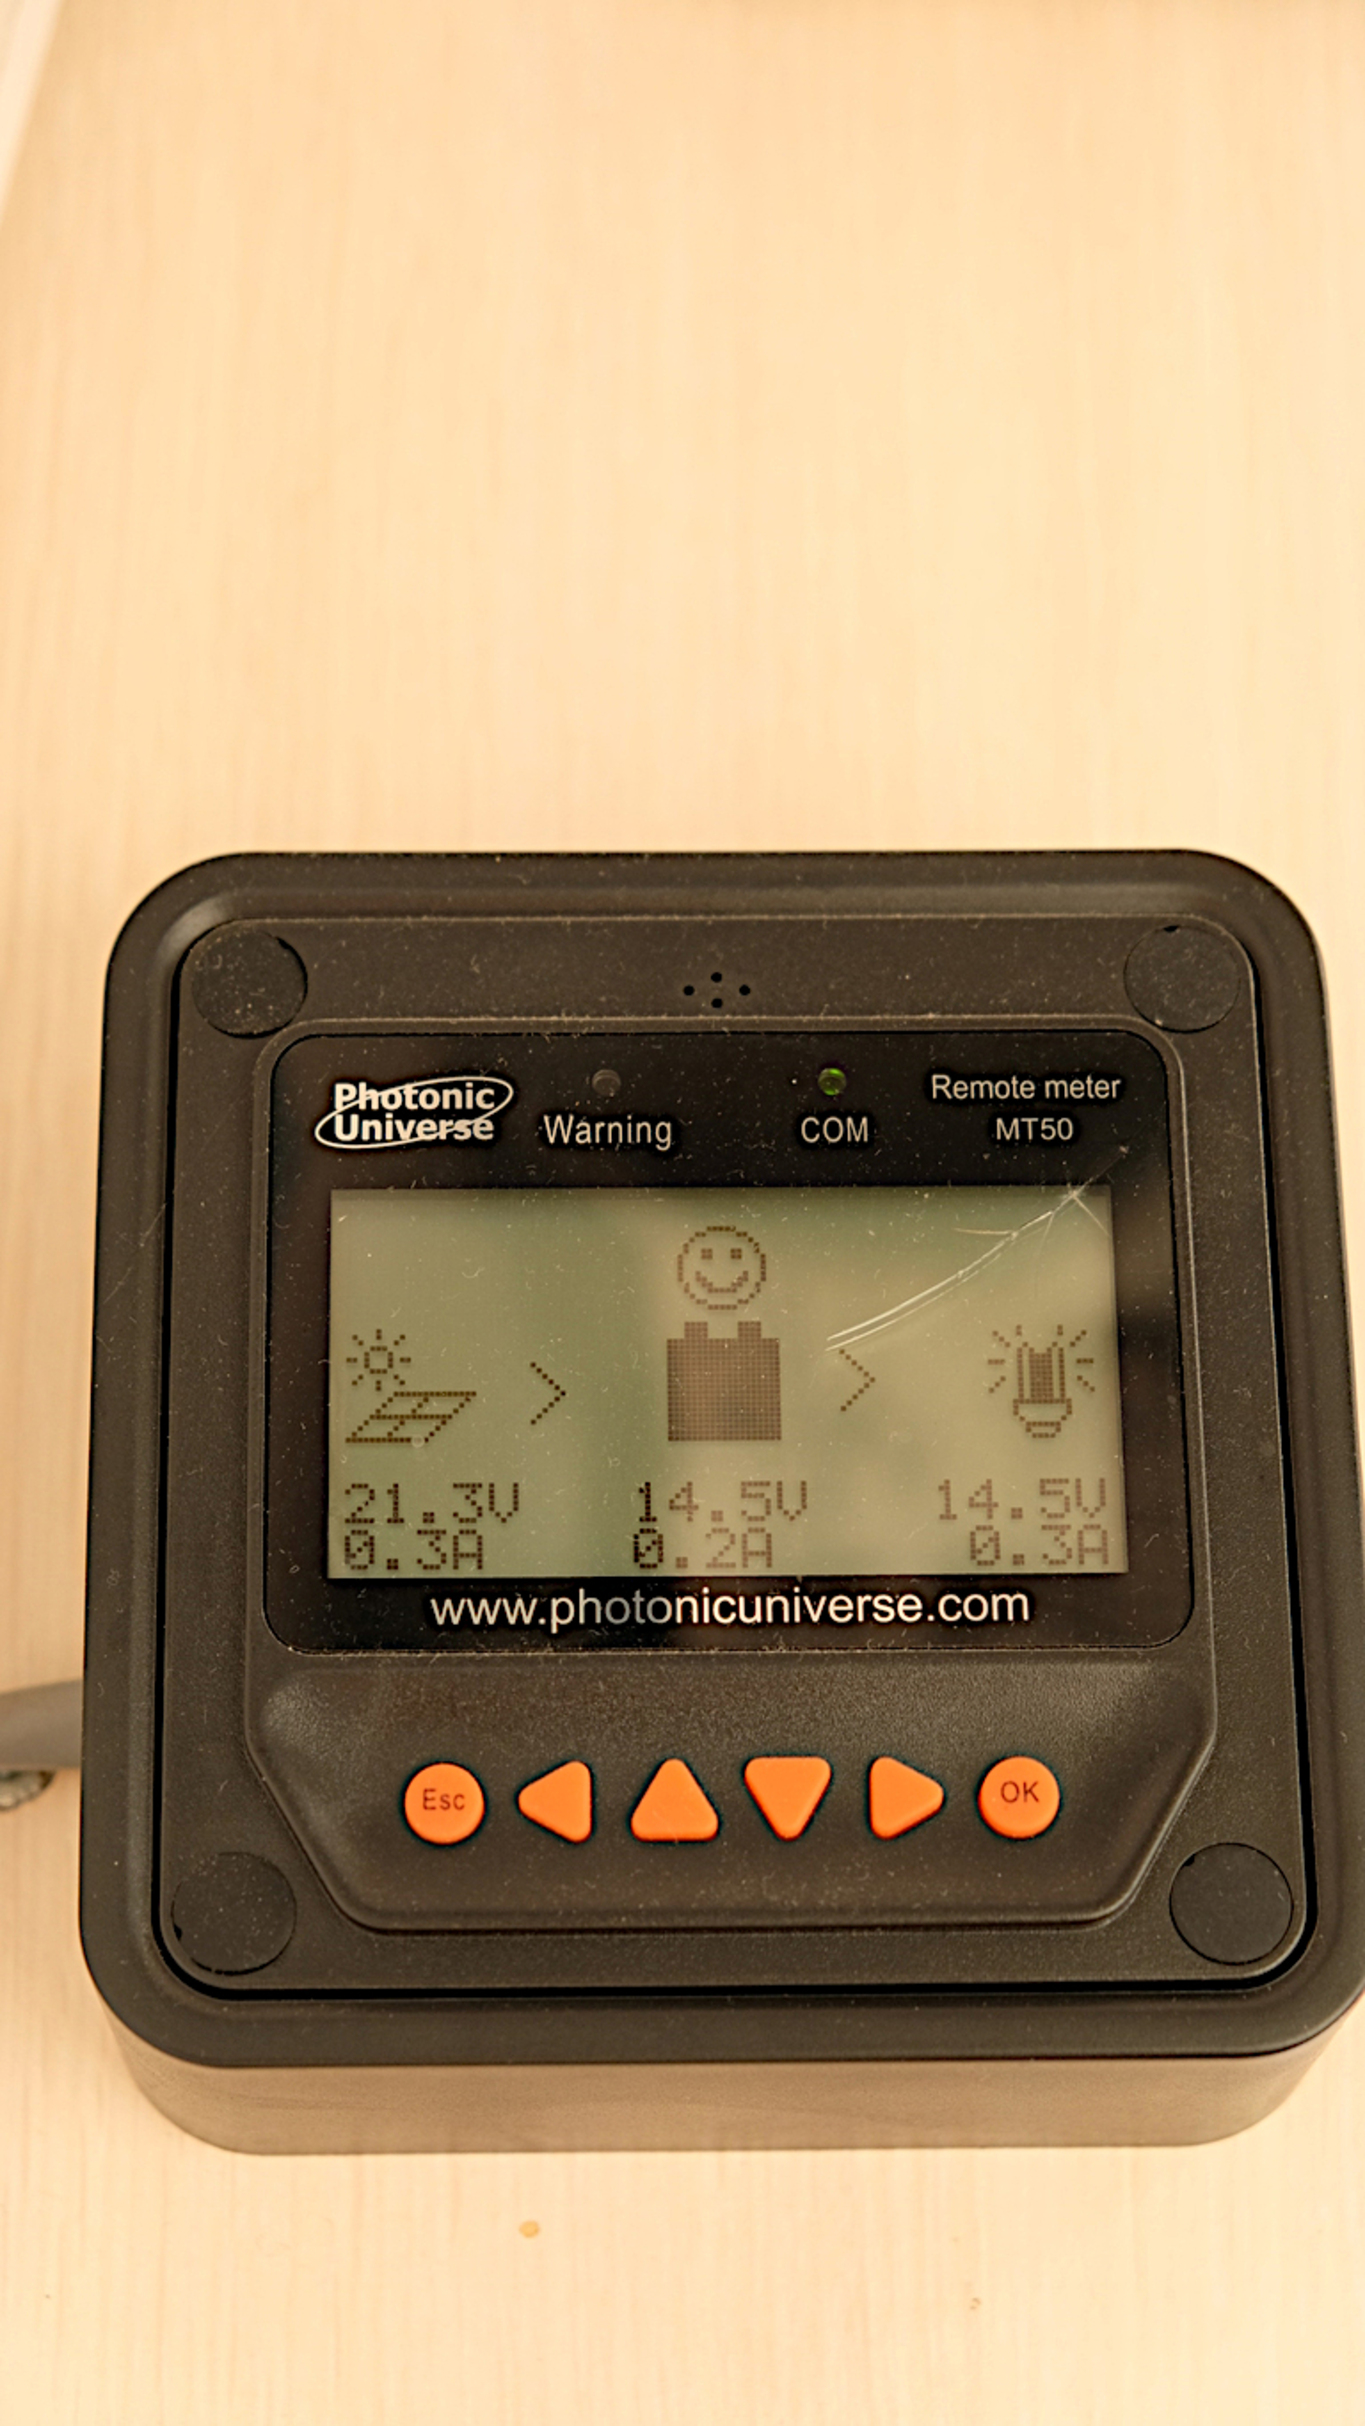
Electricity and Lightning
This was the most interesting part. From the very beginning it was clear that a solar panel is a must. The only question was what kind and how big. After doing a lot of research online and some calculations we ended up buying the following:
- 200W monochrome solar panel with a smart circuit which works in partial shade
- EPEVER 20A MPPT solar charge controller
- 2x Exide EP800 AGM 95 Ah batteries
The biggest pain with the solar was that due to the odd location of the roof vent, only a non-standard size panel could fit on the roof. Luckily, one UK-based company had such panel.
In the case of sun being absent for a few days in a row we installed a split charger.
So far the solar thing has been working very well. Despite decent power usage (mostly laptops and lights) we have never used the split charger as the batteries never discharged below 50%. Probably related to the fact that we are spending winter in Spain.
To charge laptops we got 12V DC/DC chargers which should be more efficient than using DC/AC converters and then regular AC/DC chargers.
Instead of getting way too overpriced 12V LED light panels for campervans, we bought some cheap LED light panels for 220V powered houses, ripped them apart, and put a 12V LED stripes - works well.
LED lightning
Charging
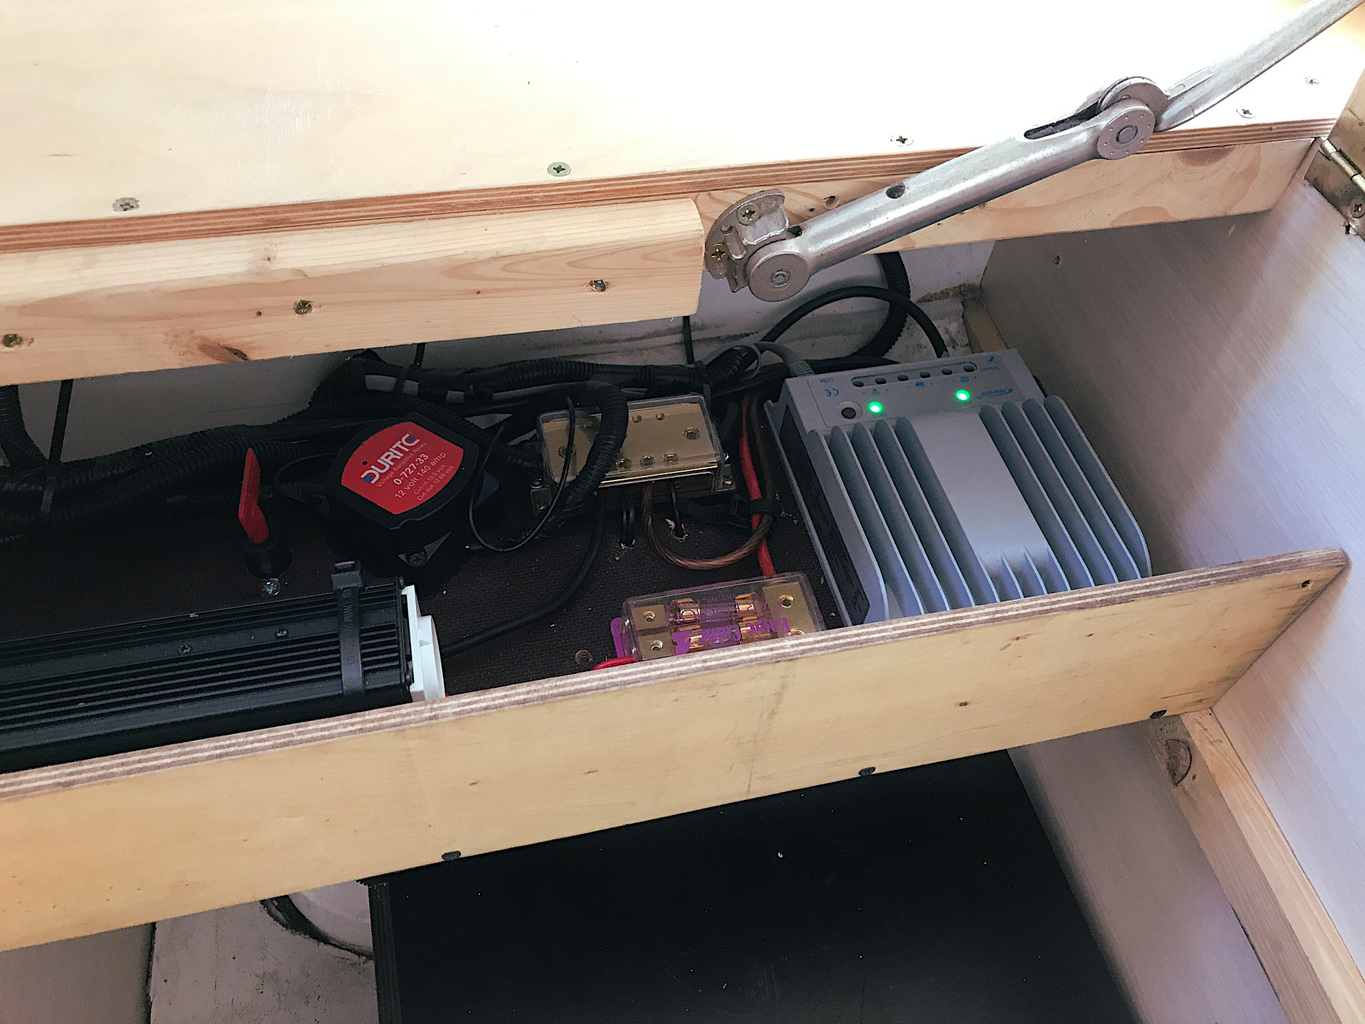
Solar charge controller and friends
Misc
There are more small things which deserve mentioning.
First of all, our shower is a 20l black plastic bag. If it’s sunny, we place the bag on the front panel of the van, and water inside becomes relatively warm. If it’s cold, we boil a bit of water. Showering happens outside. Anyway, you definitely don’t need to shower every day.
Second, we don’t have a toilet inside, as we live most of the time in nature. Instead, we got a shovel.
Third, we do laundry approximately once per month, and we use public laundry services for that.
Finally - no internet. This deserves a separate blog post. Living without internet was a blast to the mighty ’90s.
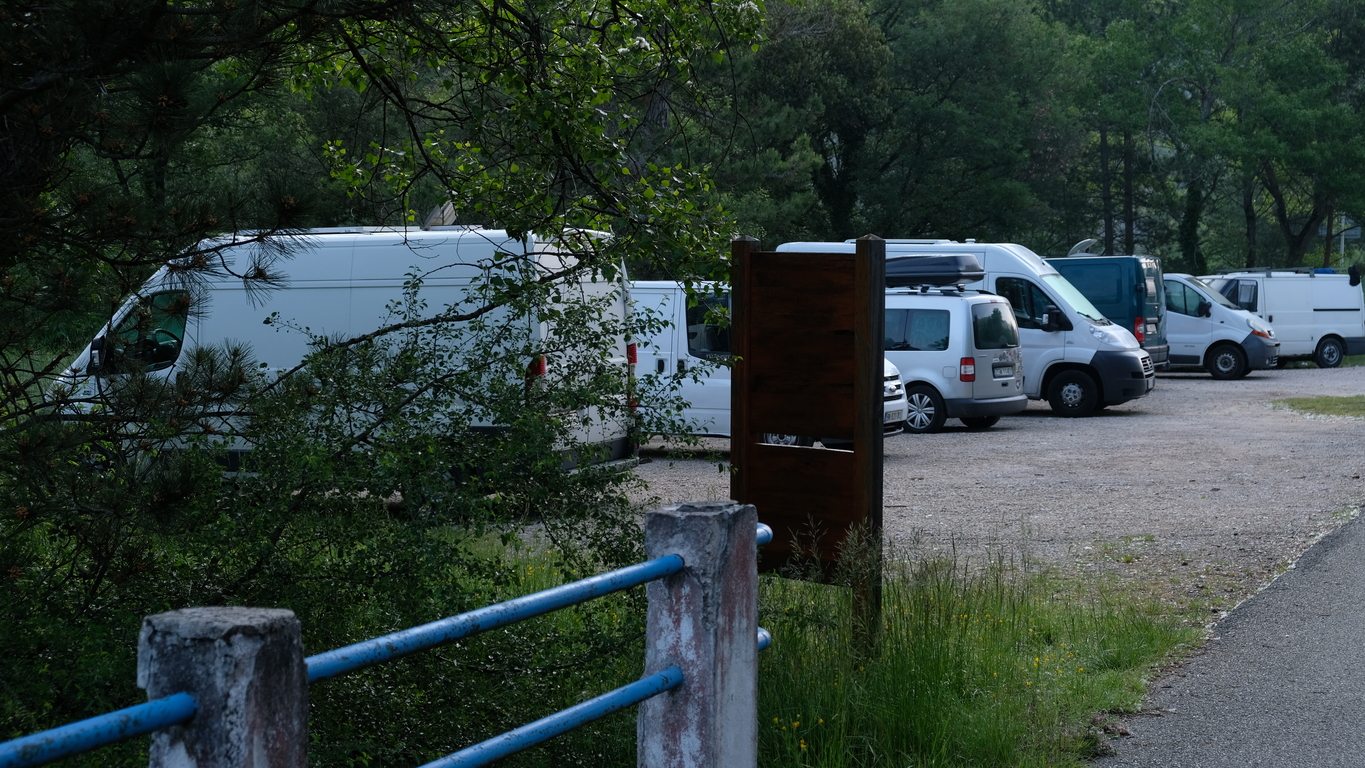
Van with friends
So, in the end, was it worth? Oh YES!